Photographing lightning is one of those experiences that best reveal how unpredictable and fascinating nature can be. You can prepare your equipment, compose the frame and set the exposure, but you never know where the next lightning strike will appear.
It is precisely this unpredictability that makes storm photography so interesting to me. Every successful photograph combines preparation, observation, patience and a little luck.
Safety first: if I see lightning or hear thunder, I do not photograph in open spaces. The safest place is a substantial building; an alternative may be an enclosed car with a metal roof and the windows rolled up. I only return outdoors at least 30 minutes after the last thunder.
I do not try to press the shutter release at the exact moment lightning appears. I use a much simpler method — I mount the camera on a tripod and use a long exposure, usually 30 seconds.
If a lightning strike appears in the part of the sky I am photographing during that time, the camera will record it. During an active storm, several strikes may occur within a single exposure, creating a very striking composition.
A long exposure also allows me to observe the storm more calmly and assess which part of the sky has the most frequent lightning.
I choose my lens and focal length primarily according to how far away the storm is and the composition I want to achieve.
I most often use the Canon RF 24–105 mm F/4. Its focal range offers considerable flexibility — I can show a broad area of sky and landscape or narrow the frame to the area where lightning appears most frequently.
If the storm is farther away, I reach for a 70–200 mm F/2.8. The longer focal length allows me to isolate a relatively small area of sky and make distant lightning much more prominent.
When photographing lightning, I usually start with the following settings:
However, I do not treat these settings as a universal recipe. A storm is a very dynamic phenomenon, and conditions can change within minutes. That is why I review successive photographs and adjust the exposure when necessary.
The most important element of my approach is a long exposure. I most often set it to 30 seconds.
This means I do not have to predict the exact moment lightning will appear. I open the shutter, and the camera records what happens in the frame over the next 30 seconds.
If a lightning strike occurs during that time, it will be recorded in the photograph. The more active the storm, the greater the chance of an interesting result.
I try to keep ISO as low as possible. I most often shoot within the ISO 100–400 range.
With a 30-second exposure, I do not need very high sensitivity. Low ISO helps maintain good image quality and reduce noise, which is particularly visible in the dark areas of the night sky.
However, I choose the final value according to the conditions. A storm over an almost completely dark landscape is different from lightning over an illuminated city.
A characteristic part of my approach to photographing lightning is matching the aperture to the brightness of the scene. I choose F/16–F/22 primarily for bright lightning or city lights, when I want to restrict more strongly the amount of light reaching the sensor.
With a 30-second exposure, this helps me control the amount of light reaching the sensor. This is especially important when city lights are in the frame or the lightning itself is very intense.
When stopping the lens down this far, you need to remember diffraction, which can cause some reduction in the maximum sharpness of the image.
In lightning photography, this is a deliberate compromise for me. Being able to use a long exposure and record a lightning strike with properly exposed surroundings matters more than achieving laboratory-level sharpness in every pixel.
Of course, this does not mean you should always shoot at F/16 or F/22. In lower light, or when I want to limit diffraction, F/8–F/11 can be a starting point; I then adjust the shutter speed and ISO accordingly.
When photographing lightning, I do not use autofocus. I focus manually because after dark autofocus may struggle to find a suitable point, and I do not want to risk an accidental change in focus between exposures.
I most often focus manually on a very distant, high-contrast point in the frame — for example, a distant light or a section of the horizon. I treat the ∞ symbol on the scale only as a starting point, not as final confirmation of focus.
Once set, I leave the focus in that position for subsequent photographs. I confirm it on the camera screen using image magnification; focus peaking can also be helpful.
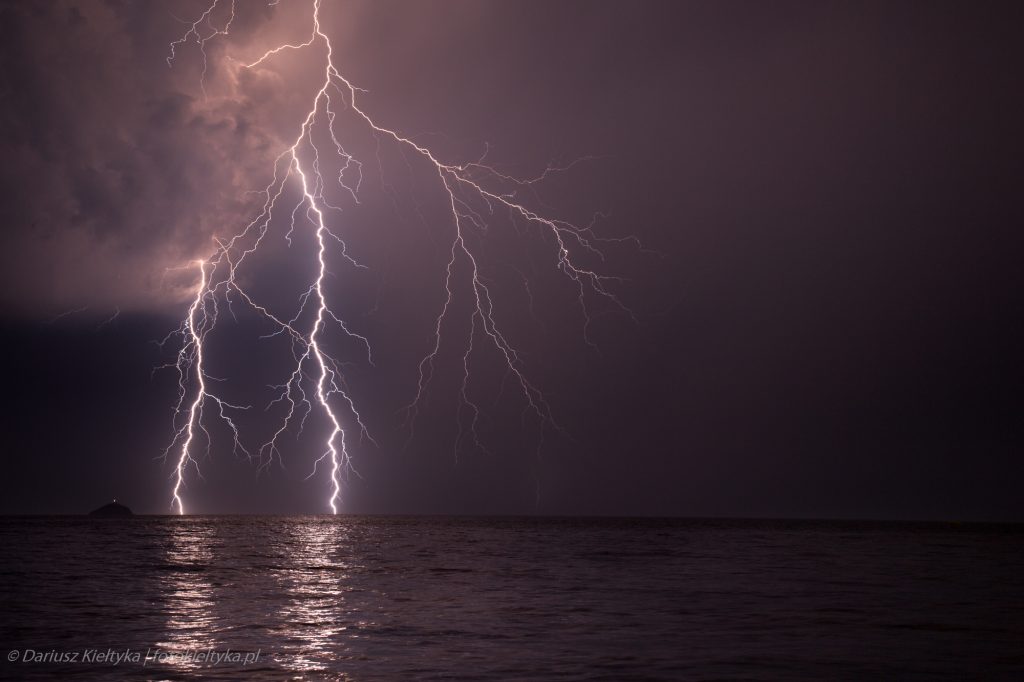
For 30-second exposures, a stable tripod is essential.
When the camera is on a tripod, I turn off image stabilisation. I also try not to move the camera unnecessarily between photographs.
If I notice that lightning regularly appears in a particular part of the sky, I compose the frame in that direction and wait.
Simply recording lightning does not always make a good photograph.
Whenever possible, I try to include elements of the surroundings in the composition — the horizon, part of a city, buildings or the landscape. This gives the lightning a sense of scale, and the photograph begins to tell a story.
The choice of focal length becomes very important here. With a shorter focal length, I can show a broad area of sky and surroundings. At 100 or 200 mm, I concentrate on a small area where lightning appears regularly.
A storm is not static. Settings that worked a few minutes earlier may suddenly no longer be suitable.
That is why I regularly check the photographs I have taken. If the sky becomes too bright, I change the exposure settings. If the lightning is faint or far away, I may increase ISO or change the focal length.
Observing where lightning appears most often is equally important. Sometimes a small adjustment to the frame is enough. At other times, it is worth changing the focal length and concentrating on a completely different part of the storm.
Photographing a storm can be fascinating, but no photograph is worth risking your safety for.
I do not photograph a nearby storm with a tripod set up in an open space. High ground, open fields, areas near isolated tall trees, and places where the photographer becomes one of the highest points in the surroundings are particularly dangerous.
If I see lightning or hear thunder, I stop photographing outdoors and move to safe shelter. I return to open spaces only after at least 30 minutes have passed since the last thunder.
In my opinion, no. The most important things are a camera that allows manual exposure control, a suitable lens and a stable tripod.
I shoot with a Canon EOS R6 Mark II, and my choice between the 24–105 mm and 70–200 mm depends mainly on the distance of the storm and the composition I want to achieve.
However, understanding the relationship between shutter speed, aperture and ISO, and knowing how to adapt these settings to the current conditions, is far more important than the particular camera model.
Camera: Canon EOS R6 Mark II
Lens: usually RF 24–105 mm F/4 or 70–200 mm F/2.8
Mode: manual
Focus: manual, usually ∞
Shutter speed: 30 s
Aperture: F/16–F/22
ISO: 100–400
Stabilisation: off
Tripod: yes
Photographing lightning combines photographic technique with something we cannot control. We can prepare the camera, set the exposure, choose the composition and observe the direction in which the storm is moving. But we cannot decide where or when the next lightning strike will appear.
And perhaps that is precisely why a successful photograph is so satisfying.
Sometimes it takes many exposures to produce the one photograph that was worth waiting for. And when a spectacular lightning strike appears exactly where planned during a 30-second exposure, all that remains is to look at the camera screen and think: got it.
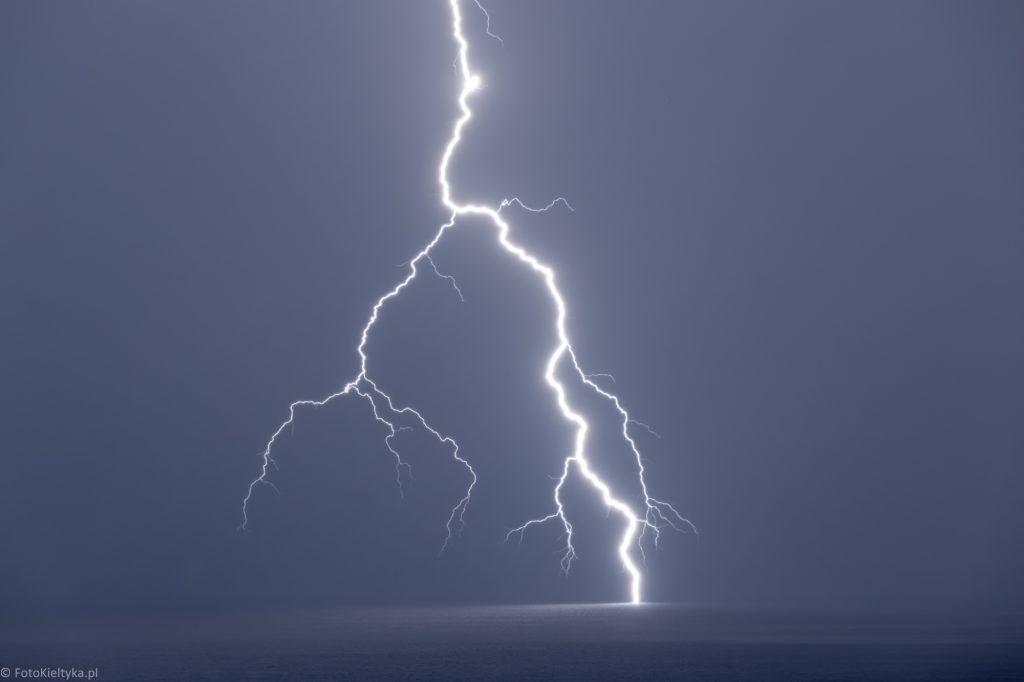
You can see more of my lightning photographs in the gallery: Lightning — the power of nature in the frame