How to Photograph Waterfalls: Krka and the Wild Waterfall

body.postid-3508 #header-container .header-copy{font-size:0!important;line-height:0!important}body.postid-3508 #header-container .header-copy>p{display:none!important}body.postid-3508 .copy .waterfall-photo{margin:30px 0}body.postid-3508 .copy .waterfall-photo img{display:block;max-width:100%;height:auto}body.postid-3508 .copy figcaption{font-size:14px;line-height:1.6;color:#627180;margin-top:9px}body.postid-3508 .copy .waterfall-table{overflow-x:auto}body.postid-3508 .copy table{width:100%;min-width:480px;border-collapse:collapse}body.postid-3508 .copy th,body.postid-3508 .copy td{padding:12px;border:1px solid #dae0e5;text-align:left}body.postid-3508 .copy th{background:#f1f5fa}

How can you photograph waterfalls to show both the energy of the current and the softness of flowing water? Shutter speed is the most important tool. Using my photographs from Krka National Park and wintertime Karpacz, I show how I match exposure to the character of the scene.

Waterfalls are among the most rewarding, yet demanding, subjects...
How can you photograph waterfalls to show both the energy of the current and the softness of flowing water? Shutter speed is the most important tool. Using my photographs from Krka National Park and wintertime Karpacz, I show how I match exposure to the character of the scene.

Waterfalls are among the most rewarding, yet demanding, subjects in landscape photography. Unlike the stationary elements around them, water is constantly moving. The photographer can decide whether to convey its power and dynamism or create a calm, almost painterly image.

The waterfalls in Croatia’s Krka National Park and the Wild Waterfall in Karpacz are good examples of two different settings. At Krka, we can photograph extensive, multi-level cascades surrounded by greenery. The Wild Waterfall offers a more compact composition, with a distinct stream flowing over a stone structure. Both places show how changing a single setting can completely alter the character of a photograph.

Shutter speed — from water texture to silky streaks

When photographing waterfalls, exposure time is primarily a creative tool. A very short exposure can freeze individual droplets and splashes. The water then looks dynamic, and the photograph emphasises the waterfall’s power.

Lengthening the exposure causes the streams to blur. At first they retain some texture, but gradually turn into soft, flowing streaks. With exposures lasting several seconds, the water can resemble white silk.

Suggested shutter speeds for waterfall photography
Shutter speedEffect and use
1/500–1/2000 sFreezes some splashes and droplets. Very fast water may require an even shorter exposure.
1/80–1/25 sDistinct texture in the current with some motion blur; the water is not completely frozen.
1/15–1/4 sShort streaks and a compromise between energy and fluidity.
0.5–2 sSoft streams and an increasingly smooth water surface.
5–30 s and longerStrong smoothing. Check that the cascades are not losing too much texture.

These values are approximate. The same shutter speed can produce a completely different effect with a small stream and a powerful waterfall.

Flow speed, distance from the water, focal length and the size at which the photograph is displayed also matter. The photographs below were taken from different positions and with different settings. They illustrate the effects rather than being a test of an identical composition with shutter speed as the only variable.

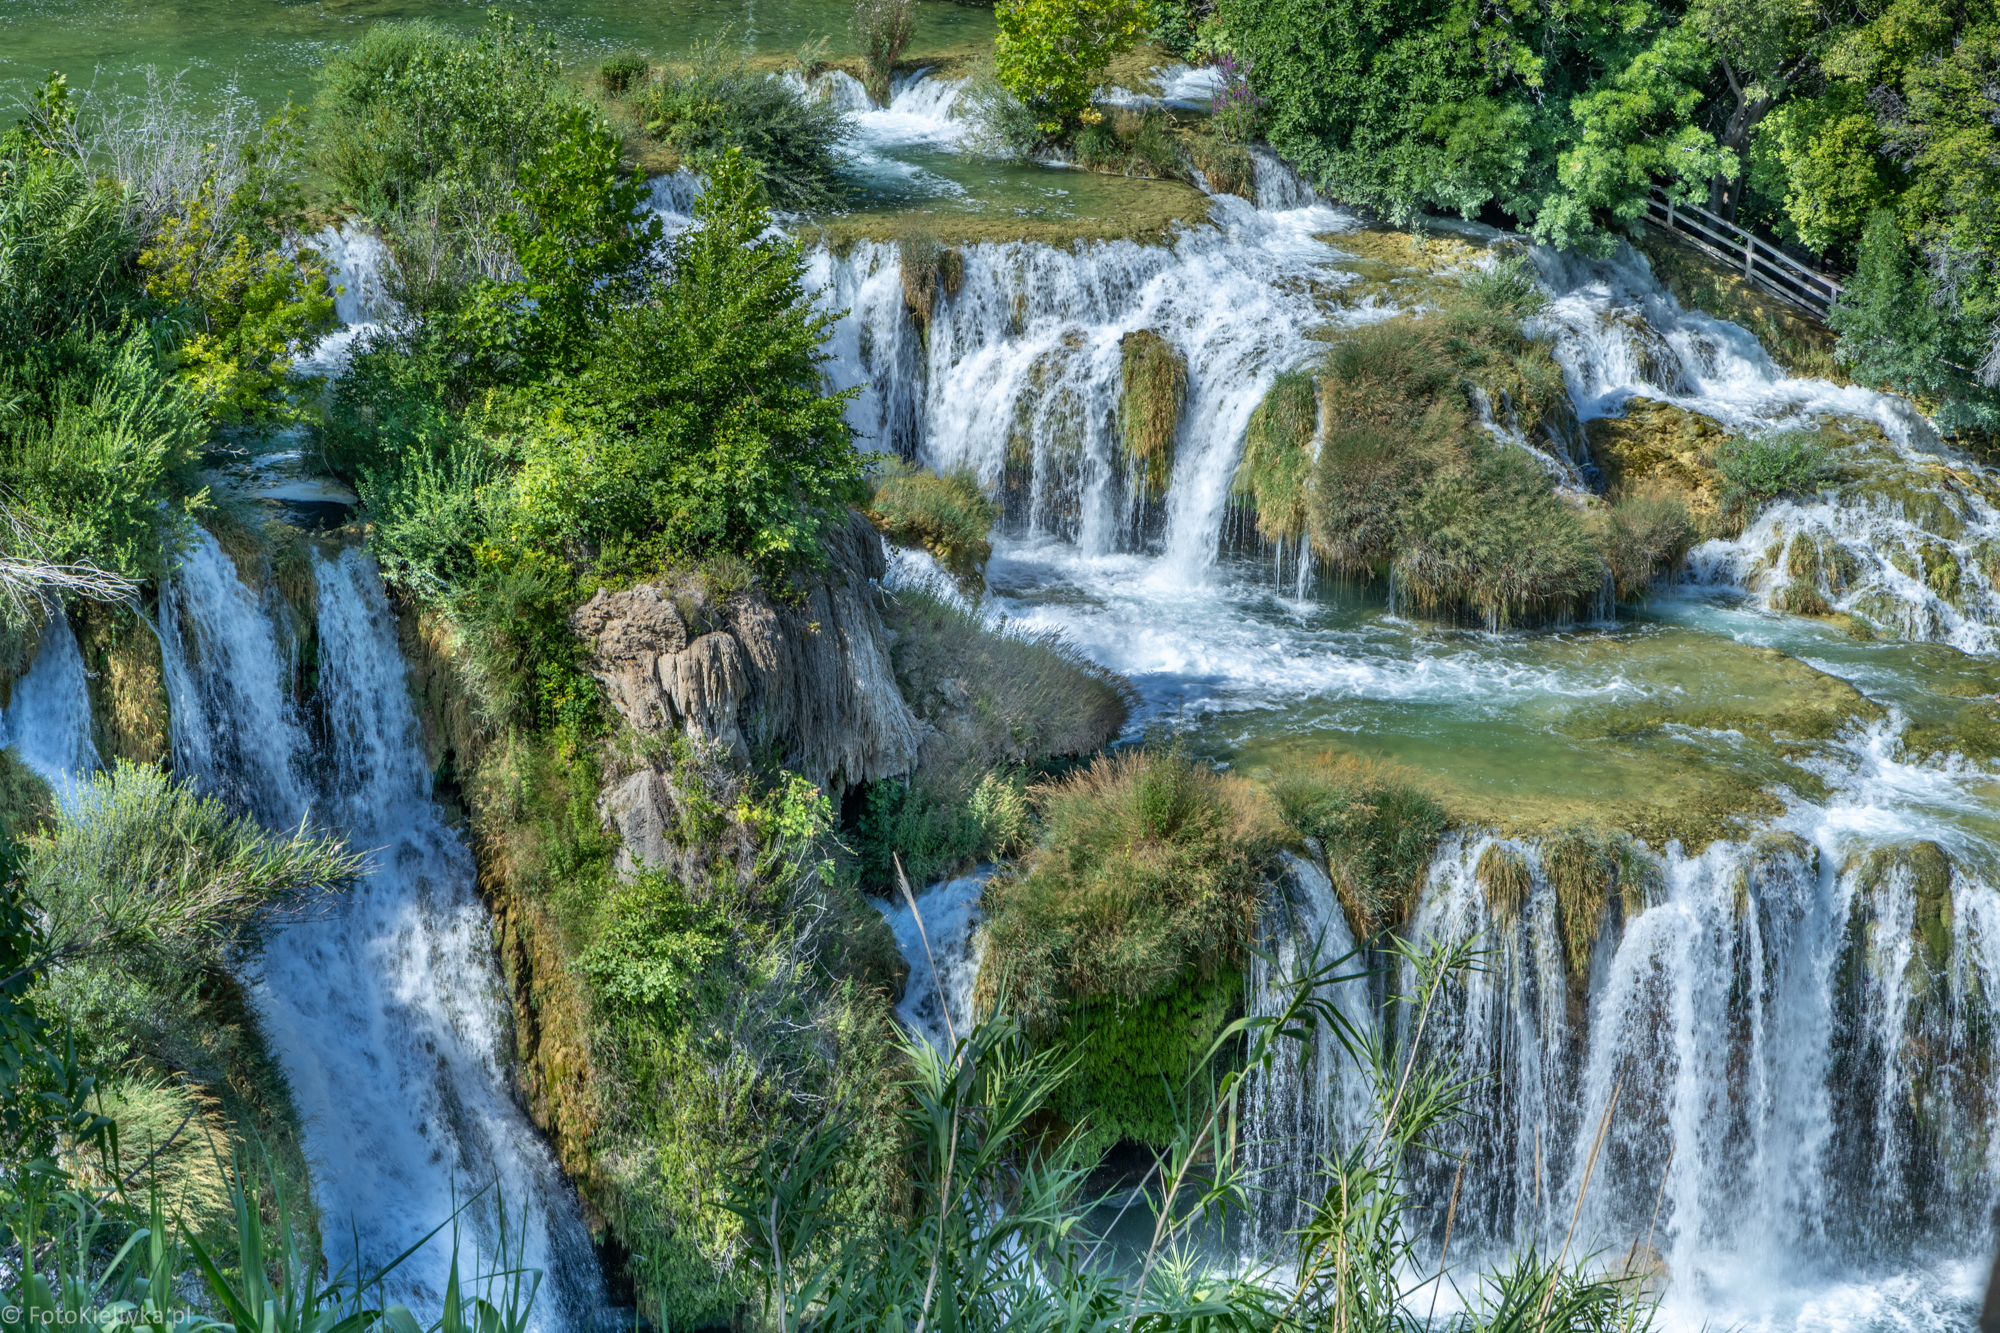
Multi-level Krka cascades seen from above, with distinct water texture among green islands
Krka National Park — 1/80 s, f/16, ISO 250. A shorter exposure retains more of the current’s texture, although it does not freeze every splash.
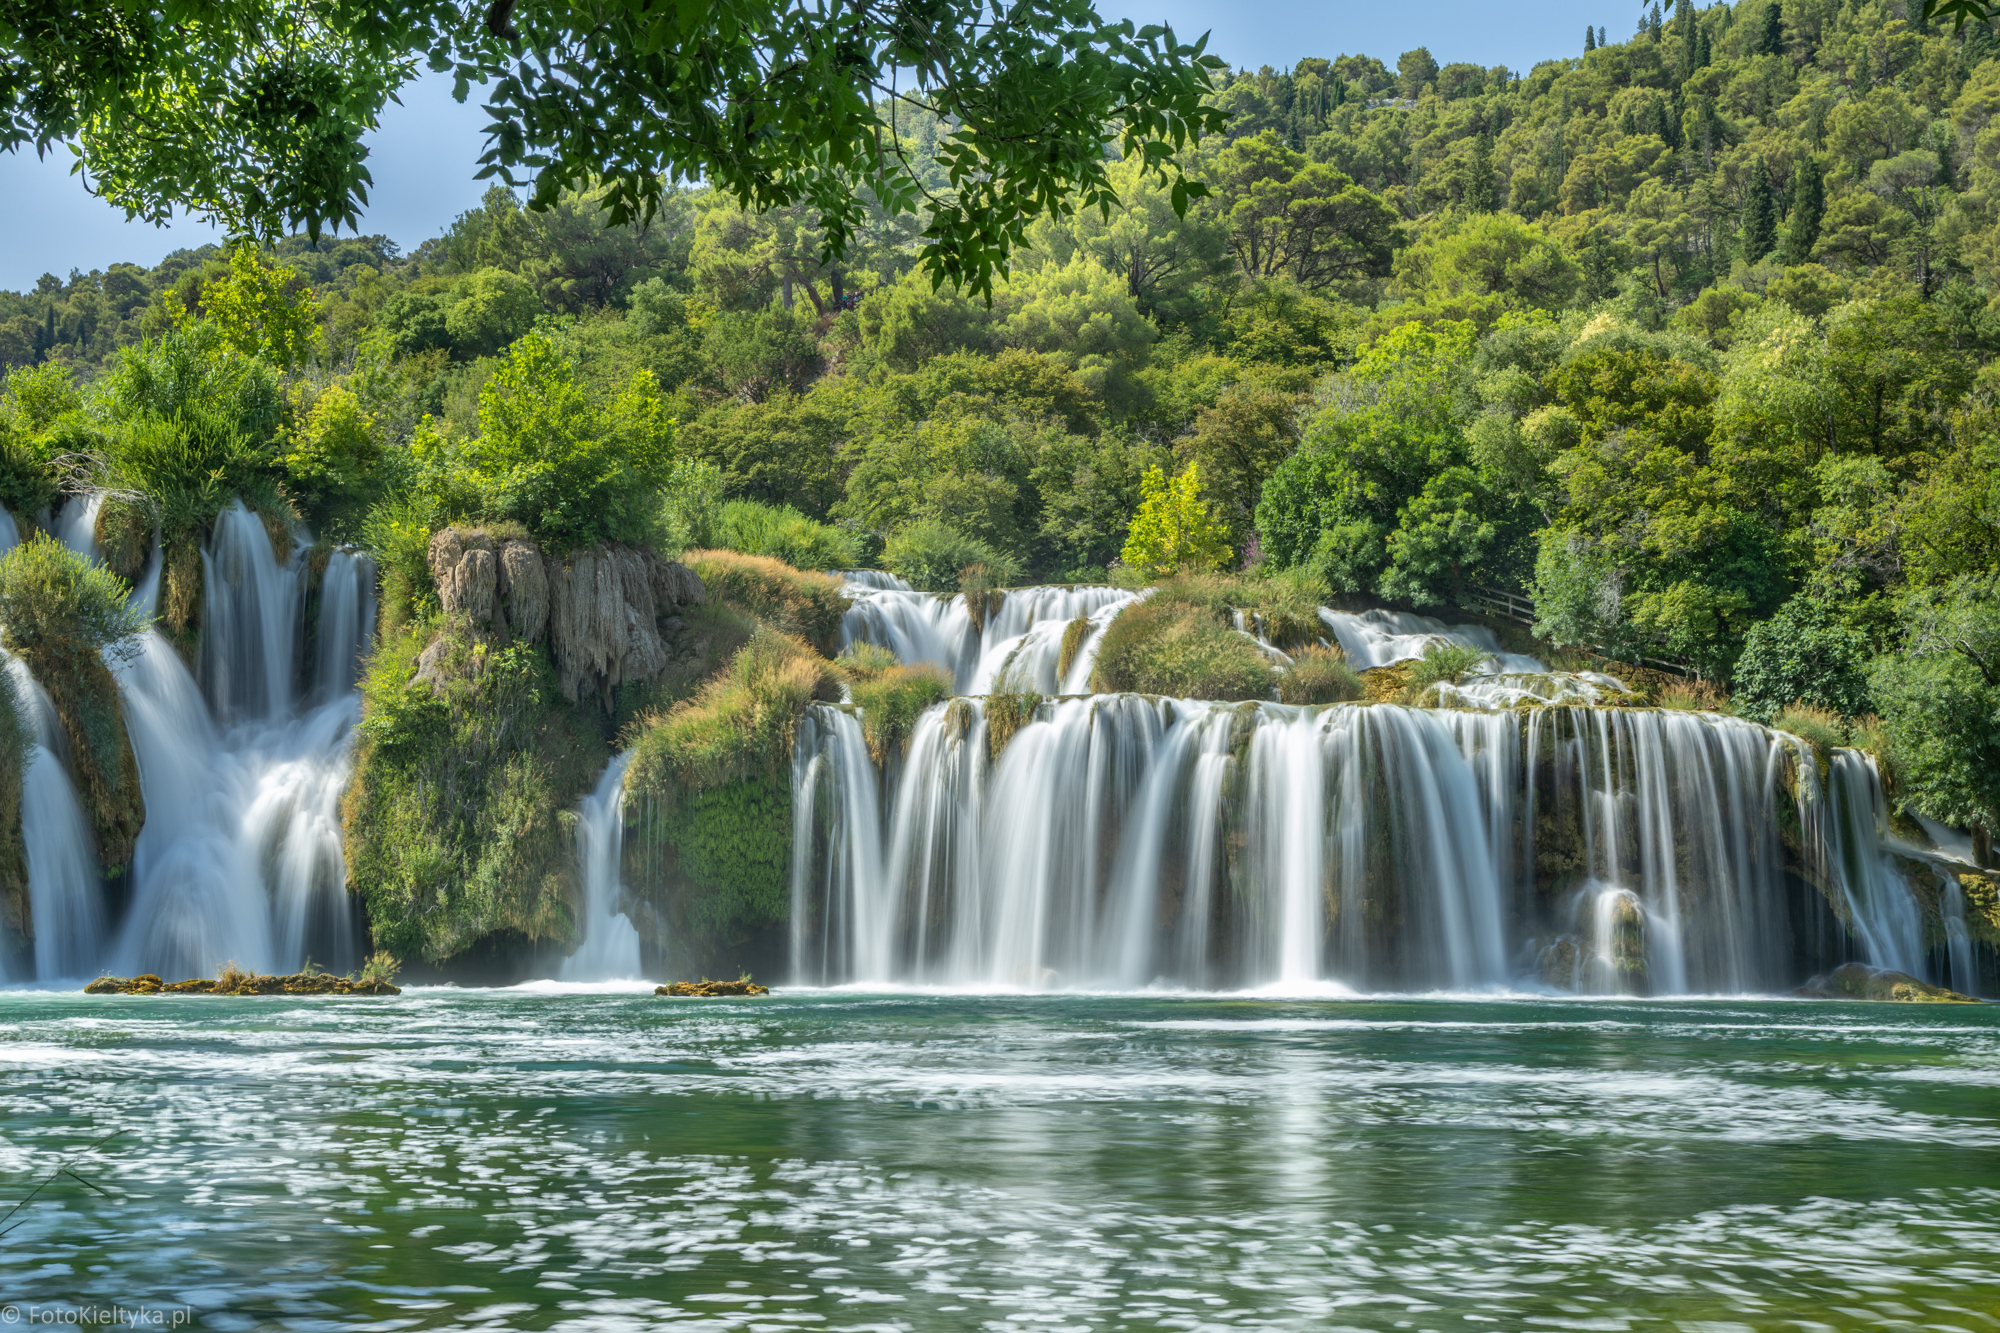
Broad Skradinski Buk cascades surrounded by green forest, with blurred water and the river in the foreground
Krka National Park — 0.6 s, f/18, ISO 100. The streams become fluid while the arrangement of the cascades remains clear.
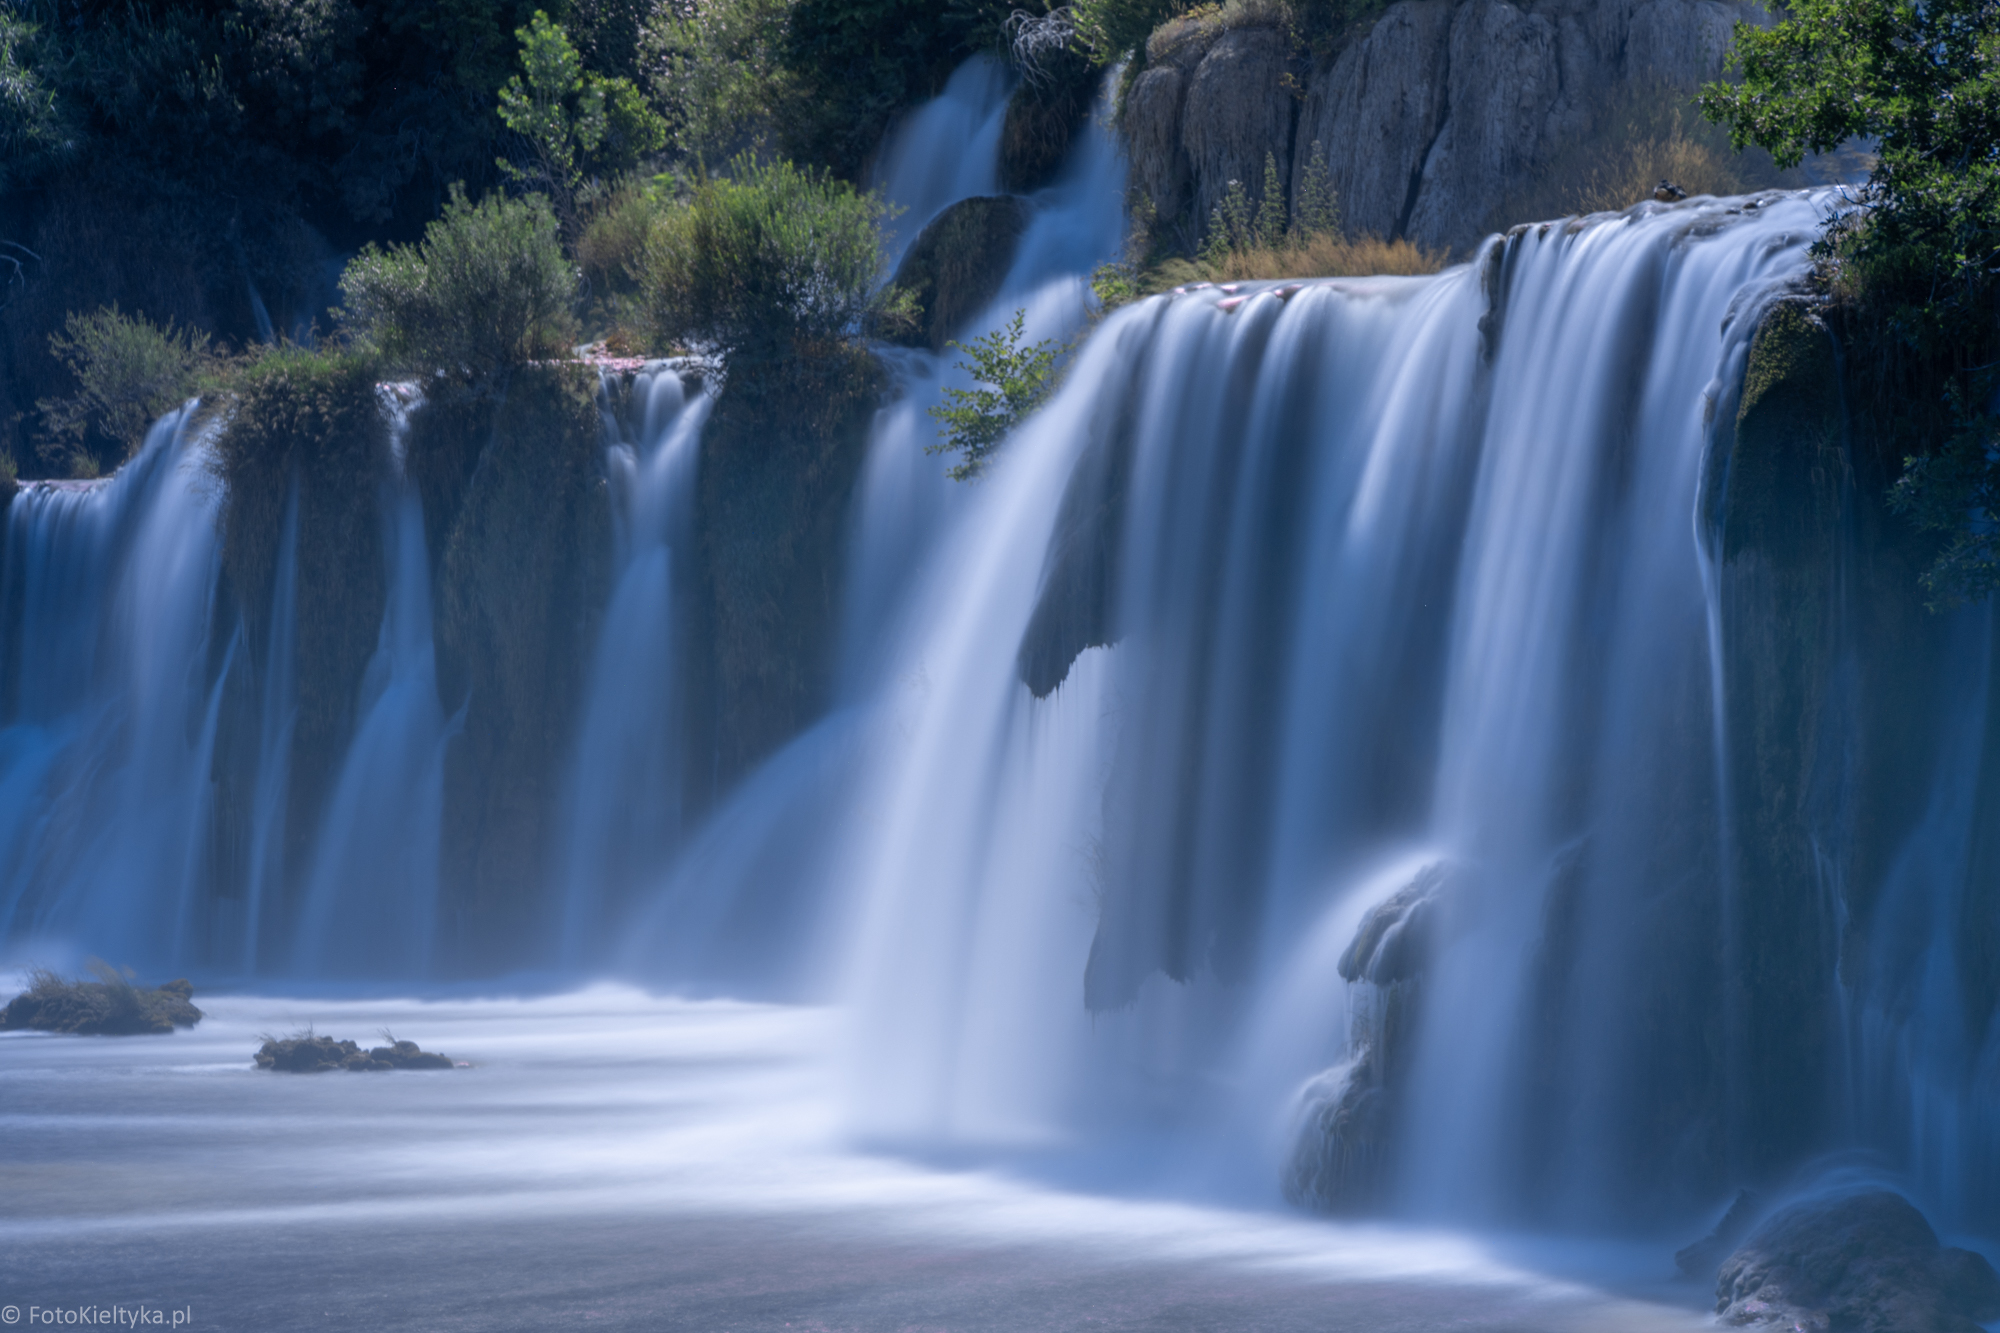
Close-up of Krka cascades with smooth streams of water flowing between shaded rocks
Krka National Park — 10 s, f/16, ISO 100. A multi-second exposure strongly smooths the falling water.

Krka — a waterfall as part of the landscape

Croatia’s Krka National Park is an excellent place to photograph water in the landscape. Extensive cascades, rocky ledges, green vegetation and calmer stretches of the river offer many compositional possibilities. Here, showing the relationship between water and its surroundings becomes especially important. It is not always worth concentrating on a single stream. Often, a more interesting image includes the entire arrangement of cascades, the surrounding vegetation and a section of the calm river surface.

For this kind of view, f/8–f/11 and ISO 100 are a good starting point. Choose shutter speed according to how you want to depict the water’s movement. To retain some of the cascades’ texture, start at 1/15–1/4 second. For a silkier appearance, try an exposure of around one second. Be careful not to smooth the water excessively: with a very long exposure, it can lose its texture and the bright parts of the waterfall may look like a uniform white surface.

See the complete series in my Krka National Park in Croatia album.

The Wild Waterfall — winter water, snow and ice

The Wild Waterfall lies on the Łomnica River in Karpacz. Although it resembles a natural waterfall, it was created by a debris-retention structure designed to trap material carried by the river. Its relatively compact form and clear direction of water flow make it an interesting photographic subject. Unlike the extensive Krka cascades, it is easier here to concentrate attention on the waterfall itself. Try both a wide view showing the surroundings and a closer composition of part of the falling water.

My photographs below were taken in January 2017. They show the location’s winter appearance at that time and serve as examples of photographic technique. Before visiting, check current access and respect signs and closures.

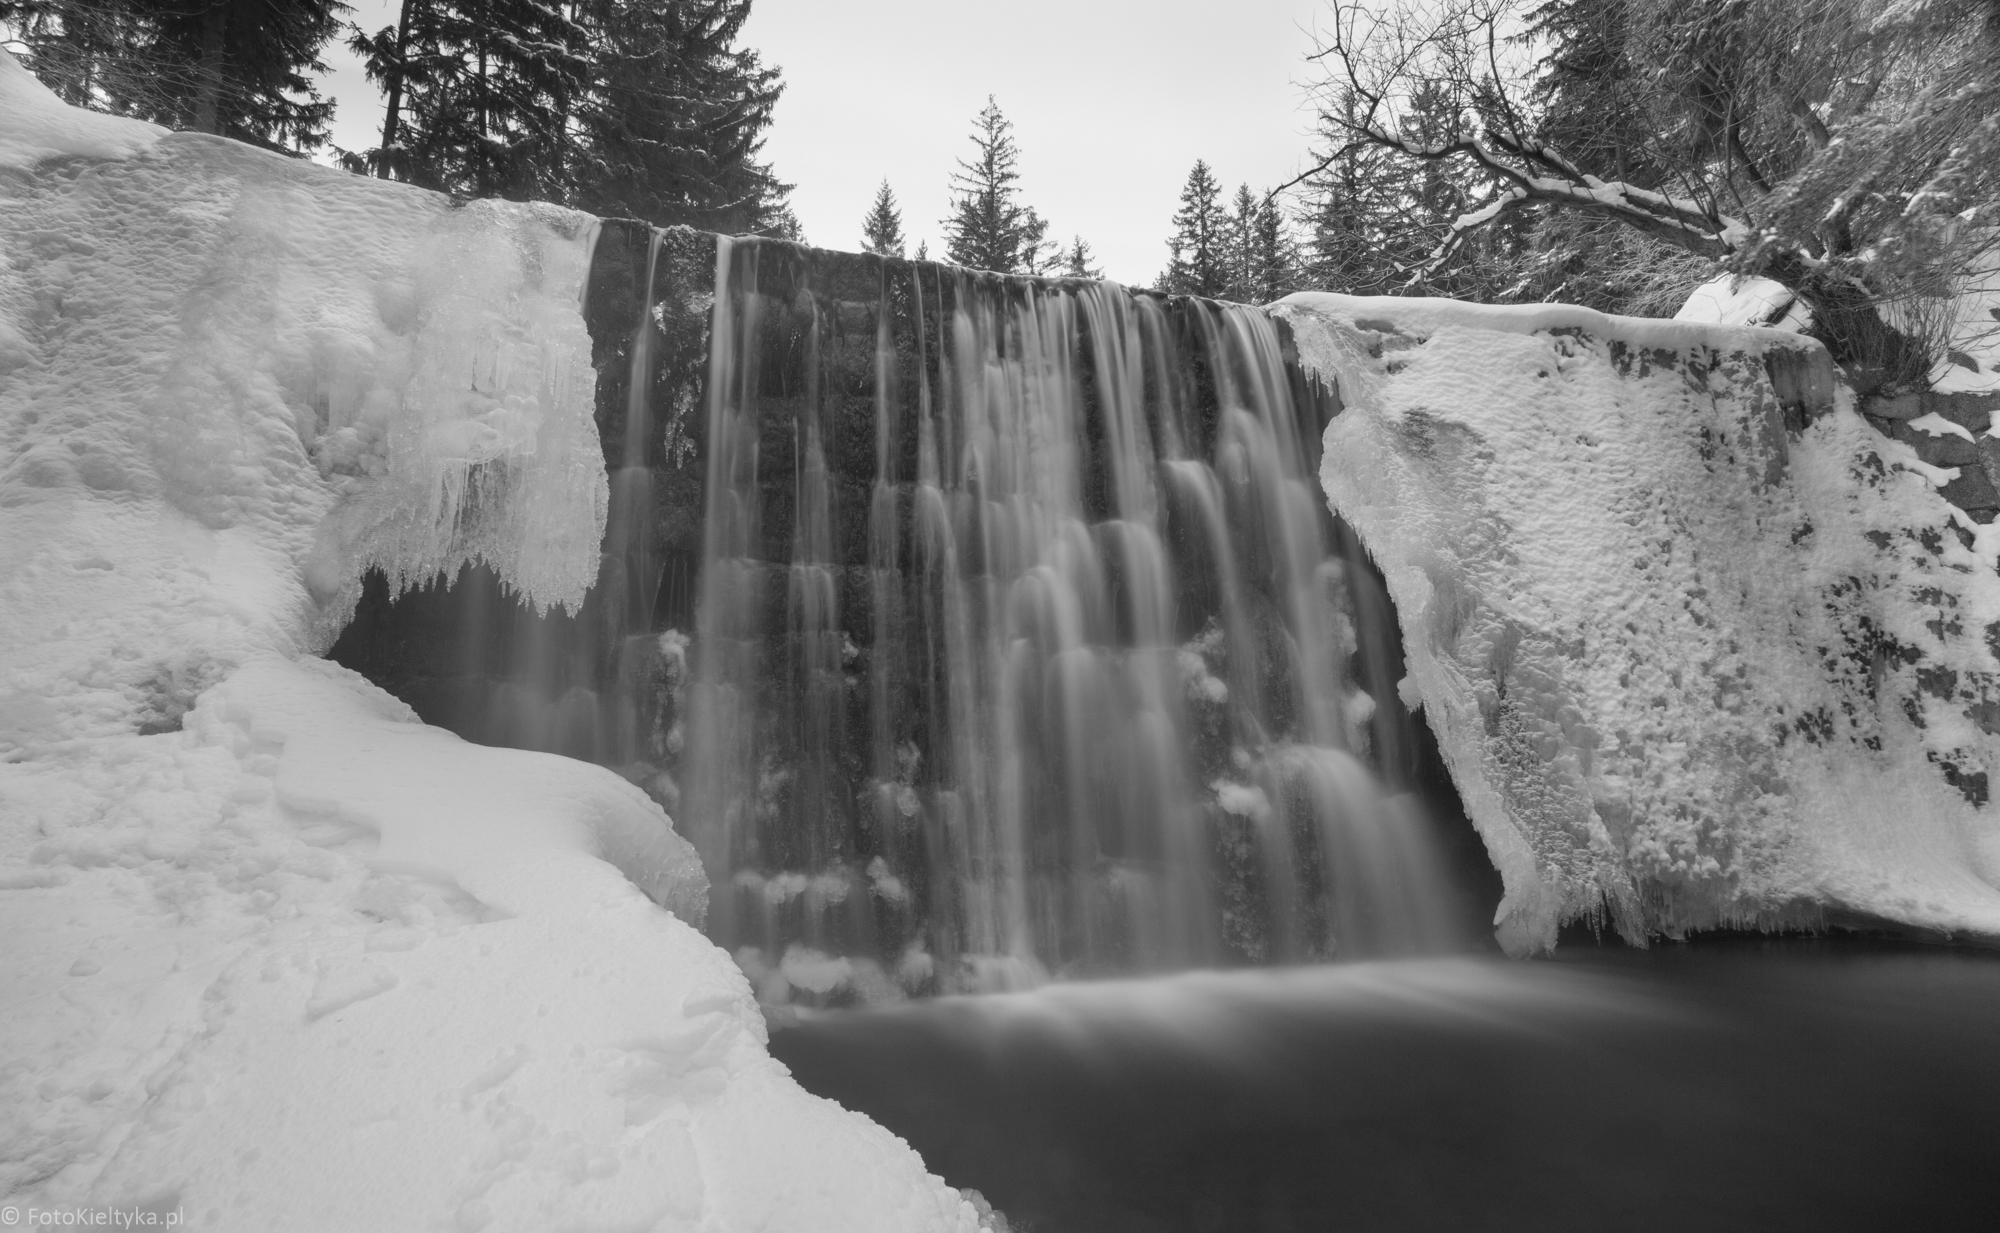
Black-and-white view of the Wild Waterfall in Karpacz with silky water, icicles and snow-covered banks
Wild Waterfall in Karpacz, January 2017 — 69 s, f/20, ISO 100. Stationary snow and ice contrast with the soft movement of the water.

At around 1/500 second, you can emphasise the current’s energy and freeze some splashes. At around 1/2–1 second, the waterfall begins to take on a gentler character. The same subject can therefore appear dynamic and stark, or calm and almost painterly.

In this winter series, I also used much longer exposures: 69 and 81 seconds. They allowed me to smooth the current strongly while retaining the stationary ice formations. Such long exposures are not necessary to achieve soft-looking water, however.

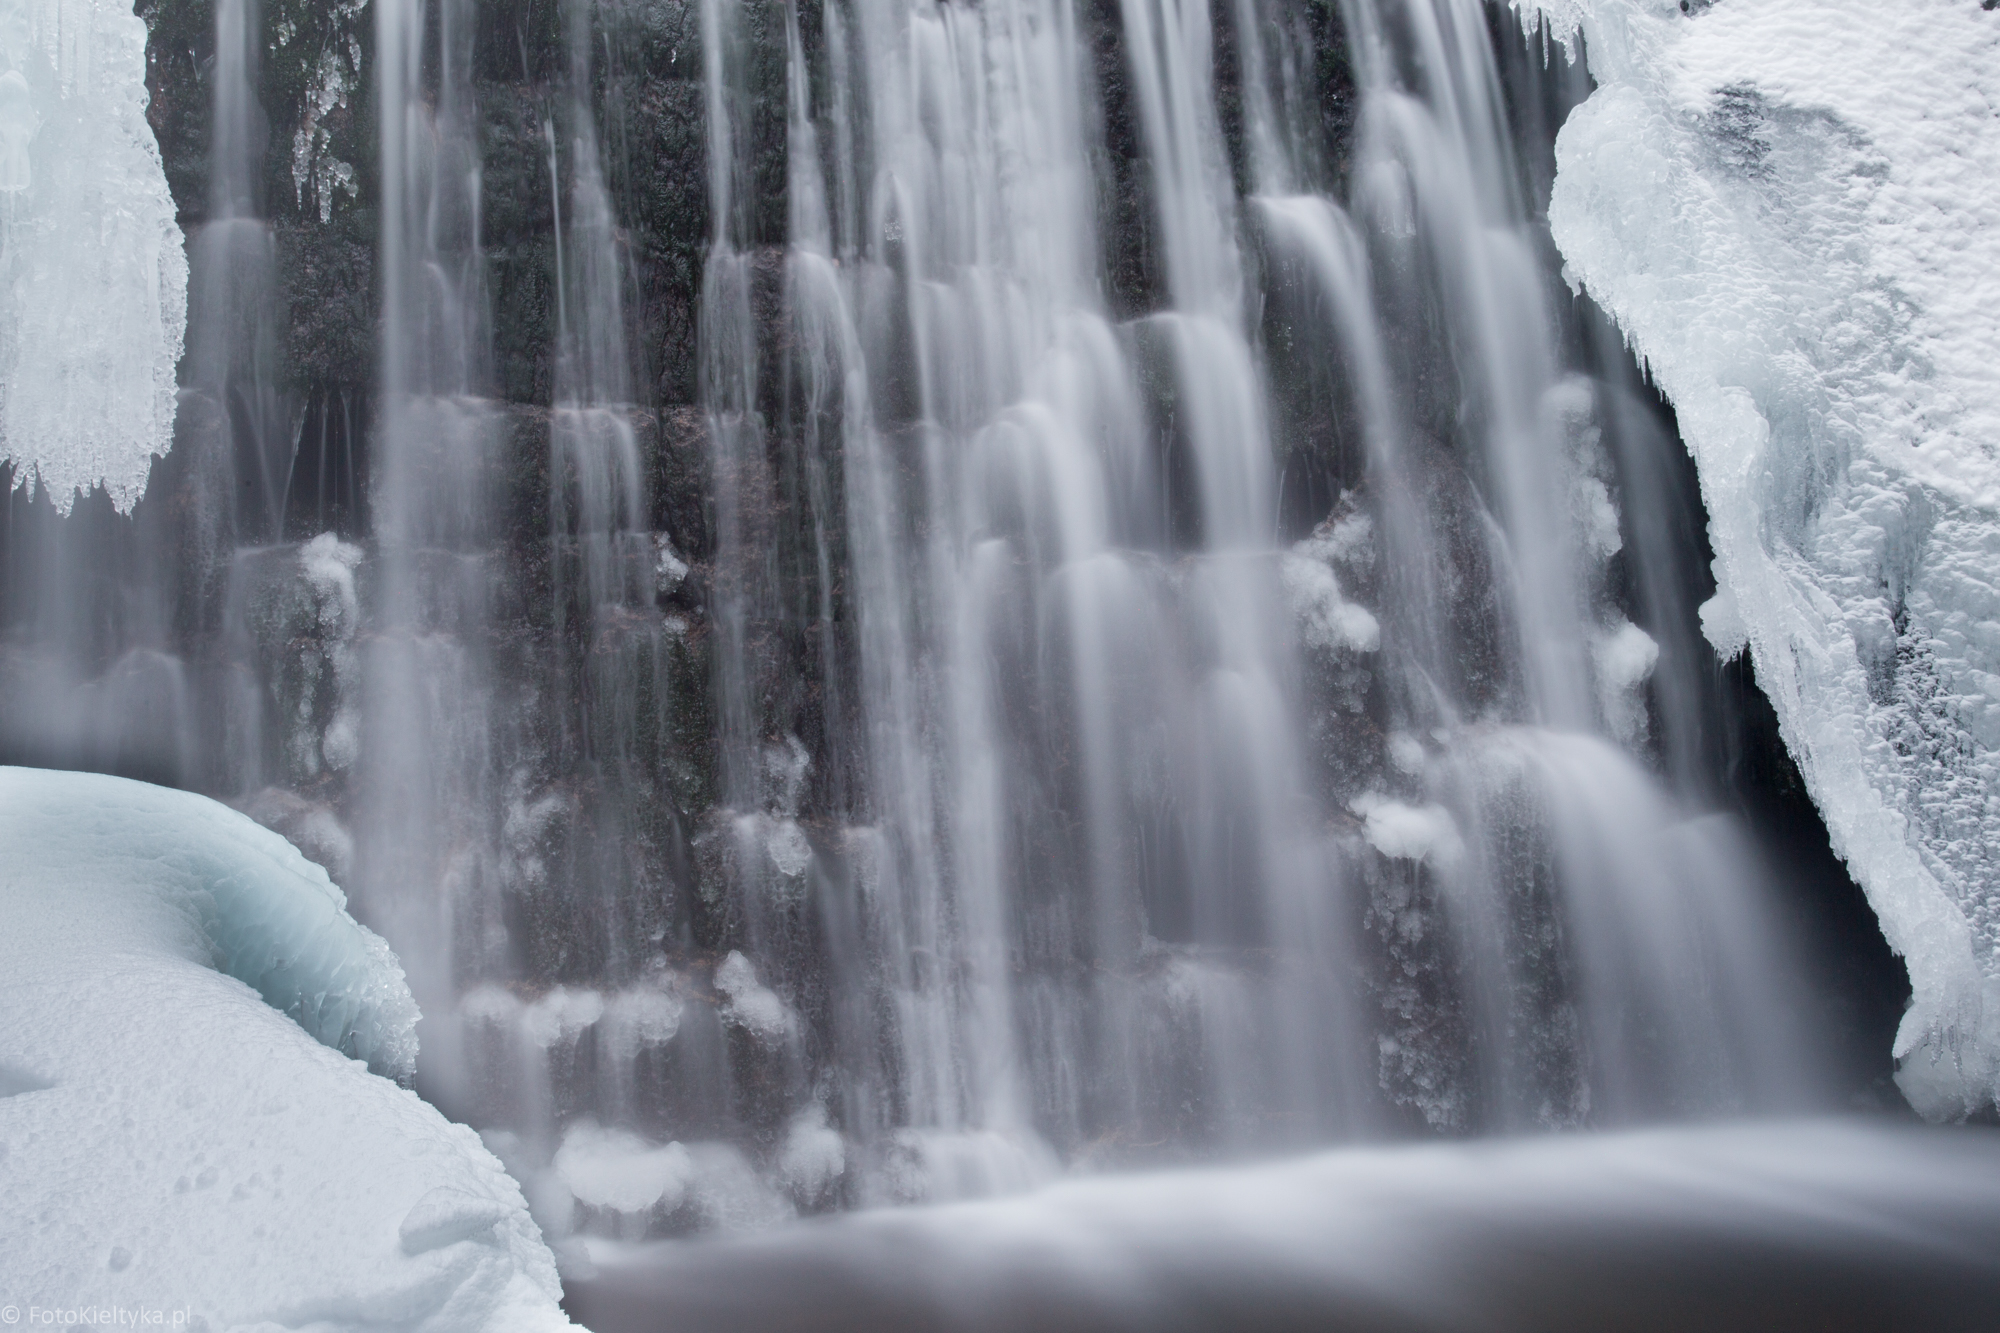
Close-up of blurred streams at the Wild Waterfall between ice-covered banks
Wild Waterfall in Karpacz, January 2017 — 81 s, f/20, ISO 100. A long exposure simplifies the texture of the current.

Also see the complete Wild Waterfall in Karpacz in Winter album.

Camera settings to start with

Manual mode is a good choice for photographing waterfalls because it lets you control every setting independently. Example settings for calm, silky water:

  • Mode: manual (M).
  • ISO: 100.
  • Aperture: f/8–f/11.
  • Shutter speed: around 1/2–2 seconds.
  • Focus: on a chosen stationary element of the landscape.
  • File format: RAW.
  • Tripod: recommended for long exposures.

To freeze water movement, shorten the exposure considerably, for example to 1/500 or 1/1000 second. Depending on the light, this may require opening the aperture or increasing ISO. When making long exposures from a tripod, check the manufacturer’s stabilisation recommendations and switch stabilisation off if necessary.

Focus on a rock or another stationary element at a suitable distance and check focus in a magnified view. A self-timer or remote release can help reduce camera shake. For exposures longer than the camera’s standard shutter range, use Bulb mode or the timer available in your camera.

Why do the captions show f/16–f/20? These are the actual settings of my photographs, read from their EXIF data. This does not mean that stopping down so far is always best. Diffraction can reduce detail, so I suggest f/8–f/11 as a starting point and an ND filter to extend the exposure. Choose the aperture with the required depth of field in mind as well.

ND filters — when there is too much light

One of the biggest challenges when photographing waterfalls is excess light. Even at ISO 100 and f/11, the exposure may be too short to create silky water. A neutral-density (ND) filter is the solution. It reduces the light reaching the sensor, allowing a longer exposure without changing depth of field.

With ISO and aperture unchanged, an ND64 filter reduces light by 6 stops and makes the exposure 64 times longer. A starting exposure of 1/60 s becomes approximately 1.1 s. An ND8 filter extends the same exposure to around 1/8 s, while an ND1000 gives around 17 s. After fitting the filter, check the histogram and adjust exposure.

A very strong filter is not always necessary. On an overcast day, in a forest or in the late afternoon, stopping down appropriately and setting a low ISO may be enough.

Do not extend the exposure at all costs. In windy conditions, leaves and branches will blur along with the water. Take several exposures and choose the one that best conveys the place’s character.

CPL filters — reflections on water, rocks and leaves

A circular polarising (CPL) filter is one of the most useful accessories for waterfall photography. It can reduce some reflections on wet rocks and leaves and, under suitable conditions, on the water’s surface too. This can make the surrounding colours look more saturated and reveal details in wet stones. A CPL filter also reduces light, usually by around 1–2 stops, which can make a slightly longer exposure easier to achieve.

Rotate the filter while watching the preview. The effect depends on viewing angle and lighting. You cannot remove every reflection from every part of the frame at once.

Remember that not every reflection should be eliminated. Sometimes a shiny water or rock surface is an important part of the composition.

Light — why overcast skies help

Strong sunlight creates very high contrast. Falling water may be brightly lit while nearby rocks and vegetation remain in deep shade. In these conditions, it is easy to clip the waterfall’s highlights.

An overcast sky acts as a large, diffused light source. Contrast is lower, making it easier to retain detail in both the water and its surroundings in one photograph. Less light also allows longer exposures without a strong ND filter. An overcast day can therefore be much more favourable for waterfall photography than a cloudless midday.

How to preserve detail in bright water

Bright streams lose detail very easily when exposure is too high. On the camera’s preview, they can then look like uniform white patches. Check the histogram and highlight warnings. If necessary, reduce exposure slightly to preserve texture in the brightest areas of water.

Do not automatically brighten every shadow. Dark rocks, greenery and shaded surroundings help build contrast and direct attention towards the waterfall. Shooting RAW makes later adjustments to highlights and shadows easier, but cannot recover information completely lost in clipped areas of the sensor.

With ISO and aperture fixed, a shorter shutter speed reduces exposure. If you want to retain a long exposure, use a stronger ND filter. Water looking white does not itself mean it is overexposed: judge the recorded detail, histogram and camera warnings.

Composition — wide views and details

The most obvious approach is to face the waterfall directly and include its full width. This can be effective, but it is not always the most interesting composition. Sometimes it is worth using foreground stones, tree branches or a stretch of river leading towards the cascade.

A wide-angle lens, such as 14–24 mm, lets you show the waterfall as part of a larger landscape. A longer focal length isolates individual streams, wet rocks and characteristic patterns in the flowing water. A useful exercise is to make several photographs from the same position using different focal lengths.

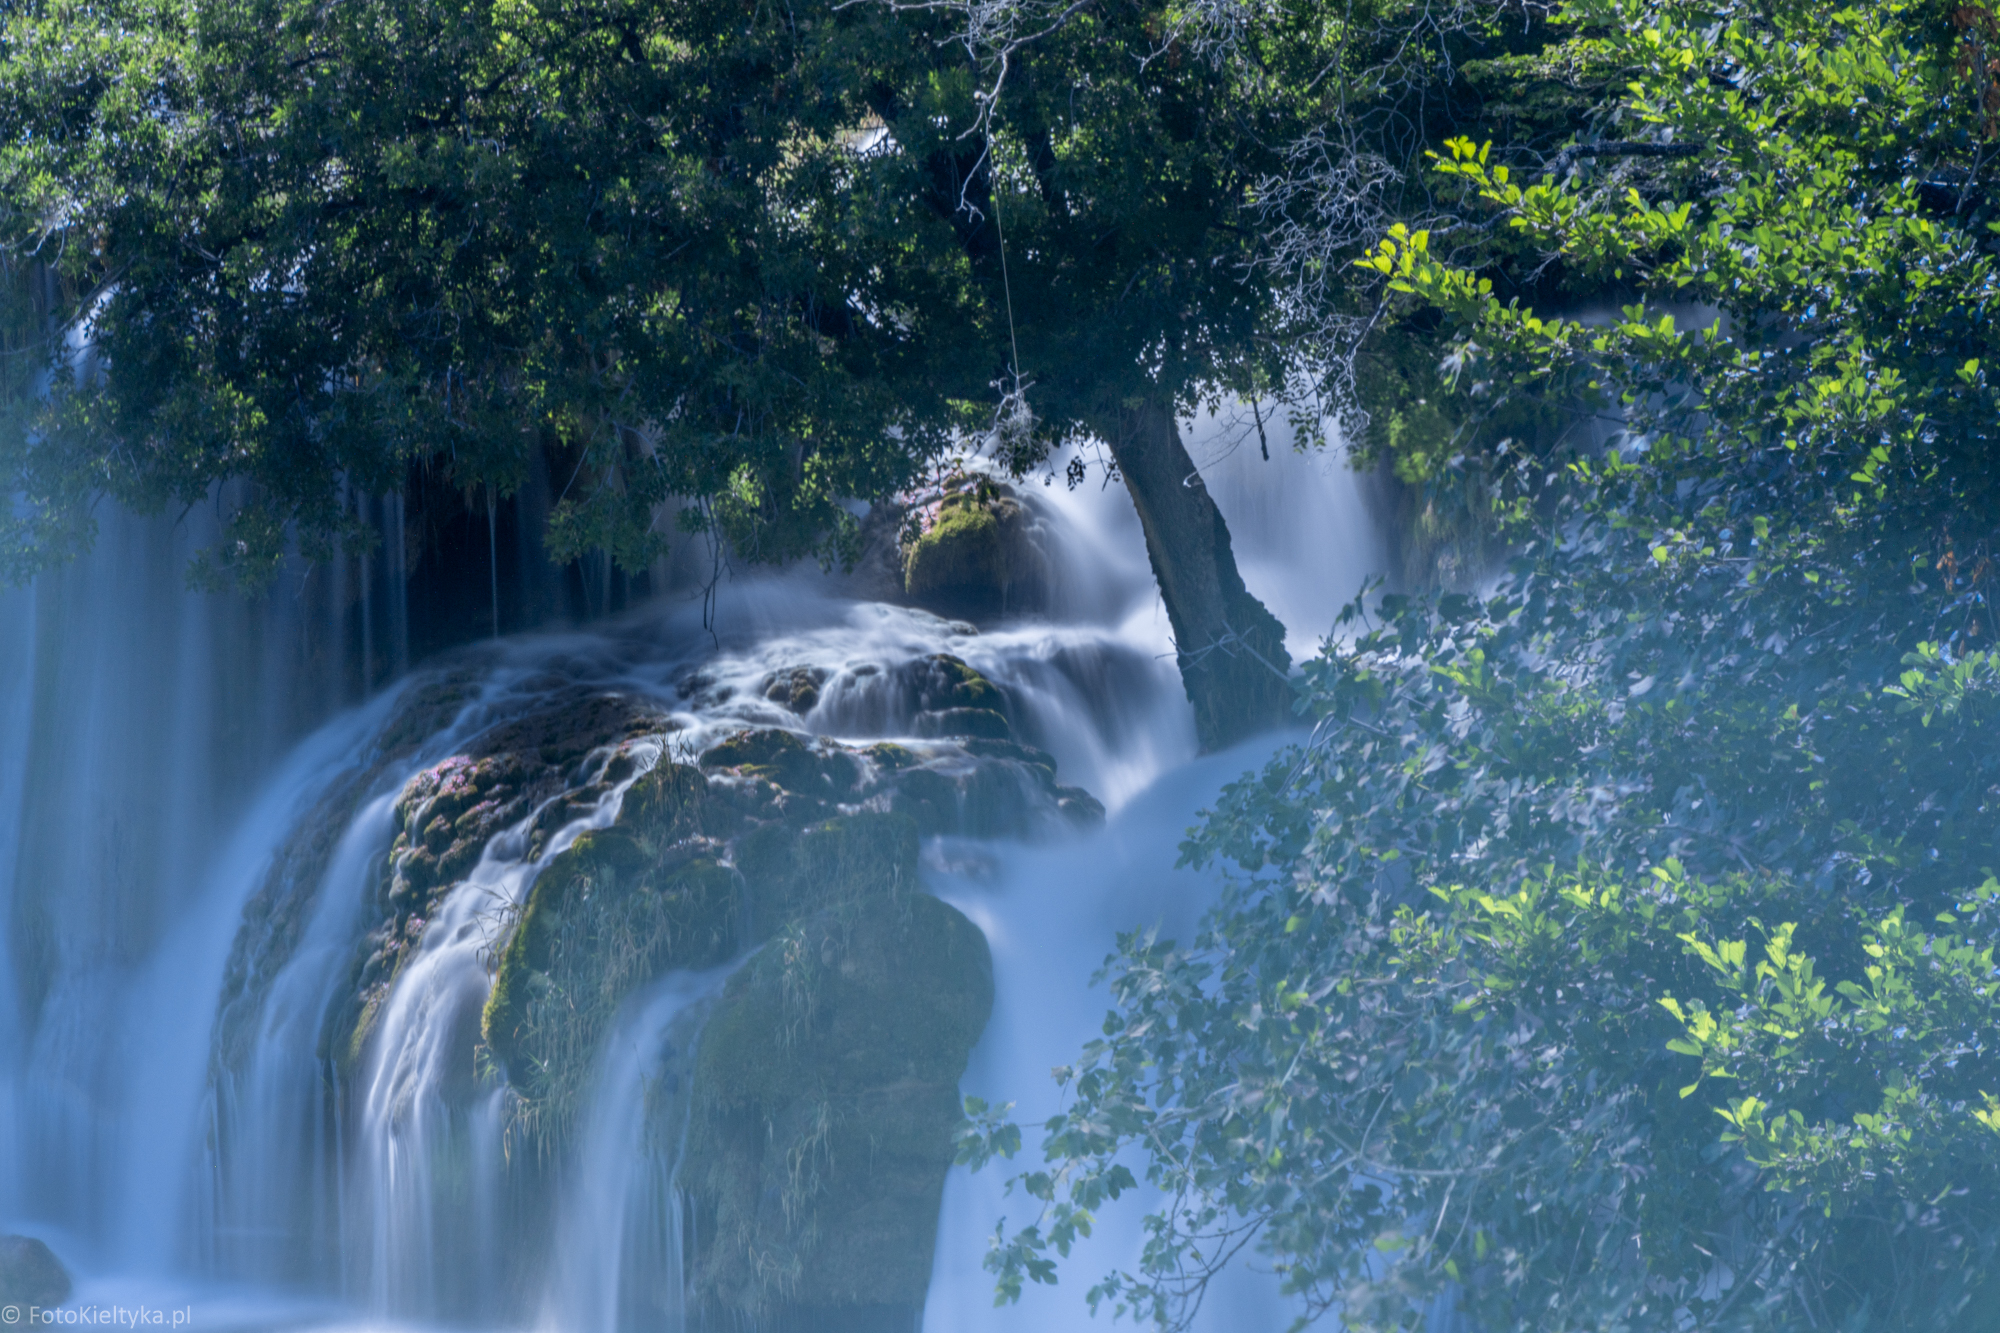
Krka cascades flowing over moss-covered rocks behind a tree trunk and green branches
Krka National Park — 10 s, f/16, ISO 100. Branches and a tree trunk form a natural frame for the cascades.
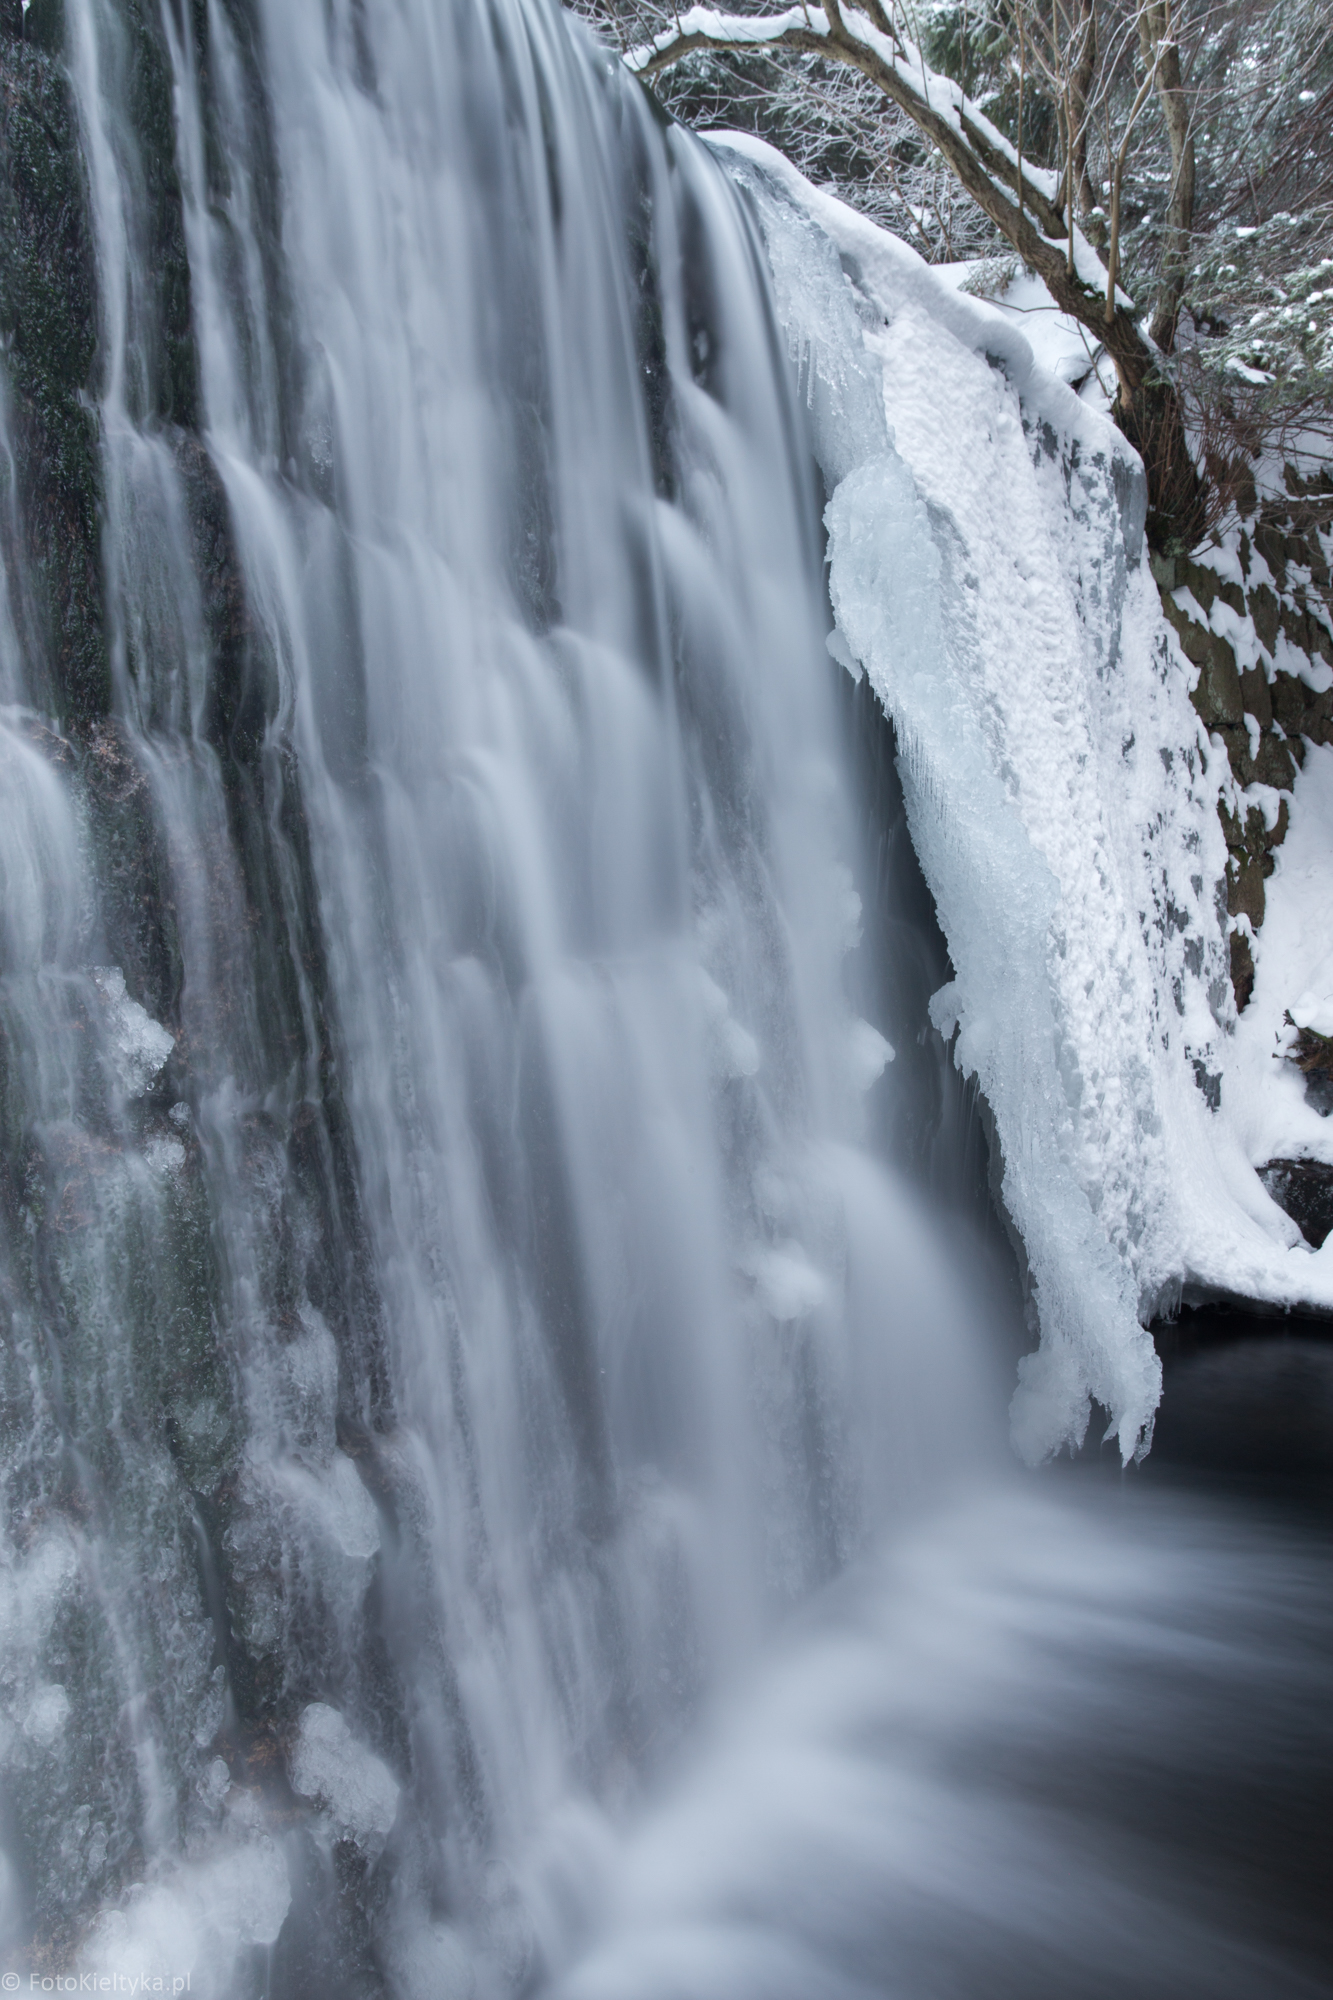
Vertical view of the Wild Waterfall with flowing water beside thick ice and snow-covered branches
Wild Waterfall in Karpacz, January 2017 — 10 s, f/16, ISO 100. The vertical composition emphasises the direction of the flowing water.

Tripods, droplets on the filter and a safe position

Longer exposures require a stable camera. Near waterfalls, however, the ground can be wet, uneven and slippery. Before setting up a tripod, make sure its legs are firmly supported and not resting on loose stones. Protecting your equipment from spray is also important. Even from some distance, fine droplets can settle on the front lens element or filter.

Keep a clean lens cloth handy and check the front element regularly. Droplets are especially visible when shooting towards the light. Avoid extending the tripod’s centre column unnecessarily, and avoid a boardwalk that vibrates as other people walk across it.

In Krka National Park, use designated routes and viewpoints and follow current nature-conservation rules. Likewise, in Karpacz, it is not worth risking entering the river or climbing onto slippery rocks just for a slightly different composition.

Match shutter speed to the waterfall’s character

Waterfall photography is an excellent example of how strongly shutter speed affects a photograph’s character. A short exposure freezes water and emphasises its energy. A longer one gives streams softness and fluidity. The Krka cascades and the Wild Waterfall show that the same technique can be used in an extensive landscape and in a photograph of a single waterfall. The longest exposure does not always produce the best photograph. Find the point at which water movement enhances the location’s character rather than hiding it completely.

See also