On this Croatian beach the sun slips behind a cloud. Its reflection runs down the centre of the frame to the incoming wave. Even the pebbles at the bottom cast tiny shadows. How can you keep both the bright path on the water and the texture of the shore?
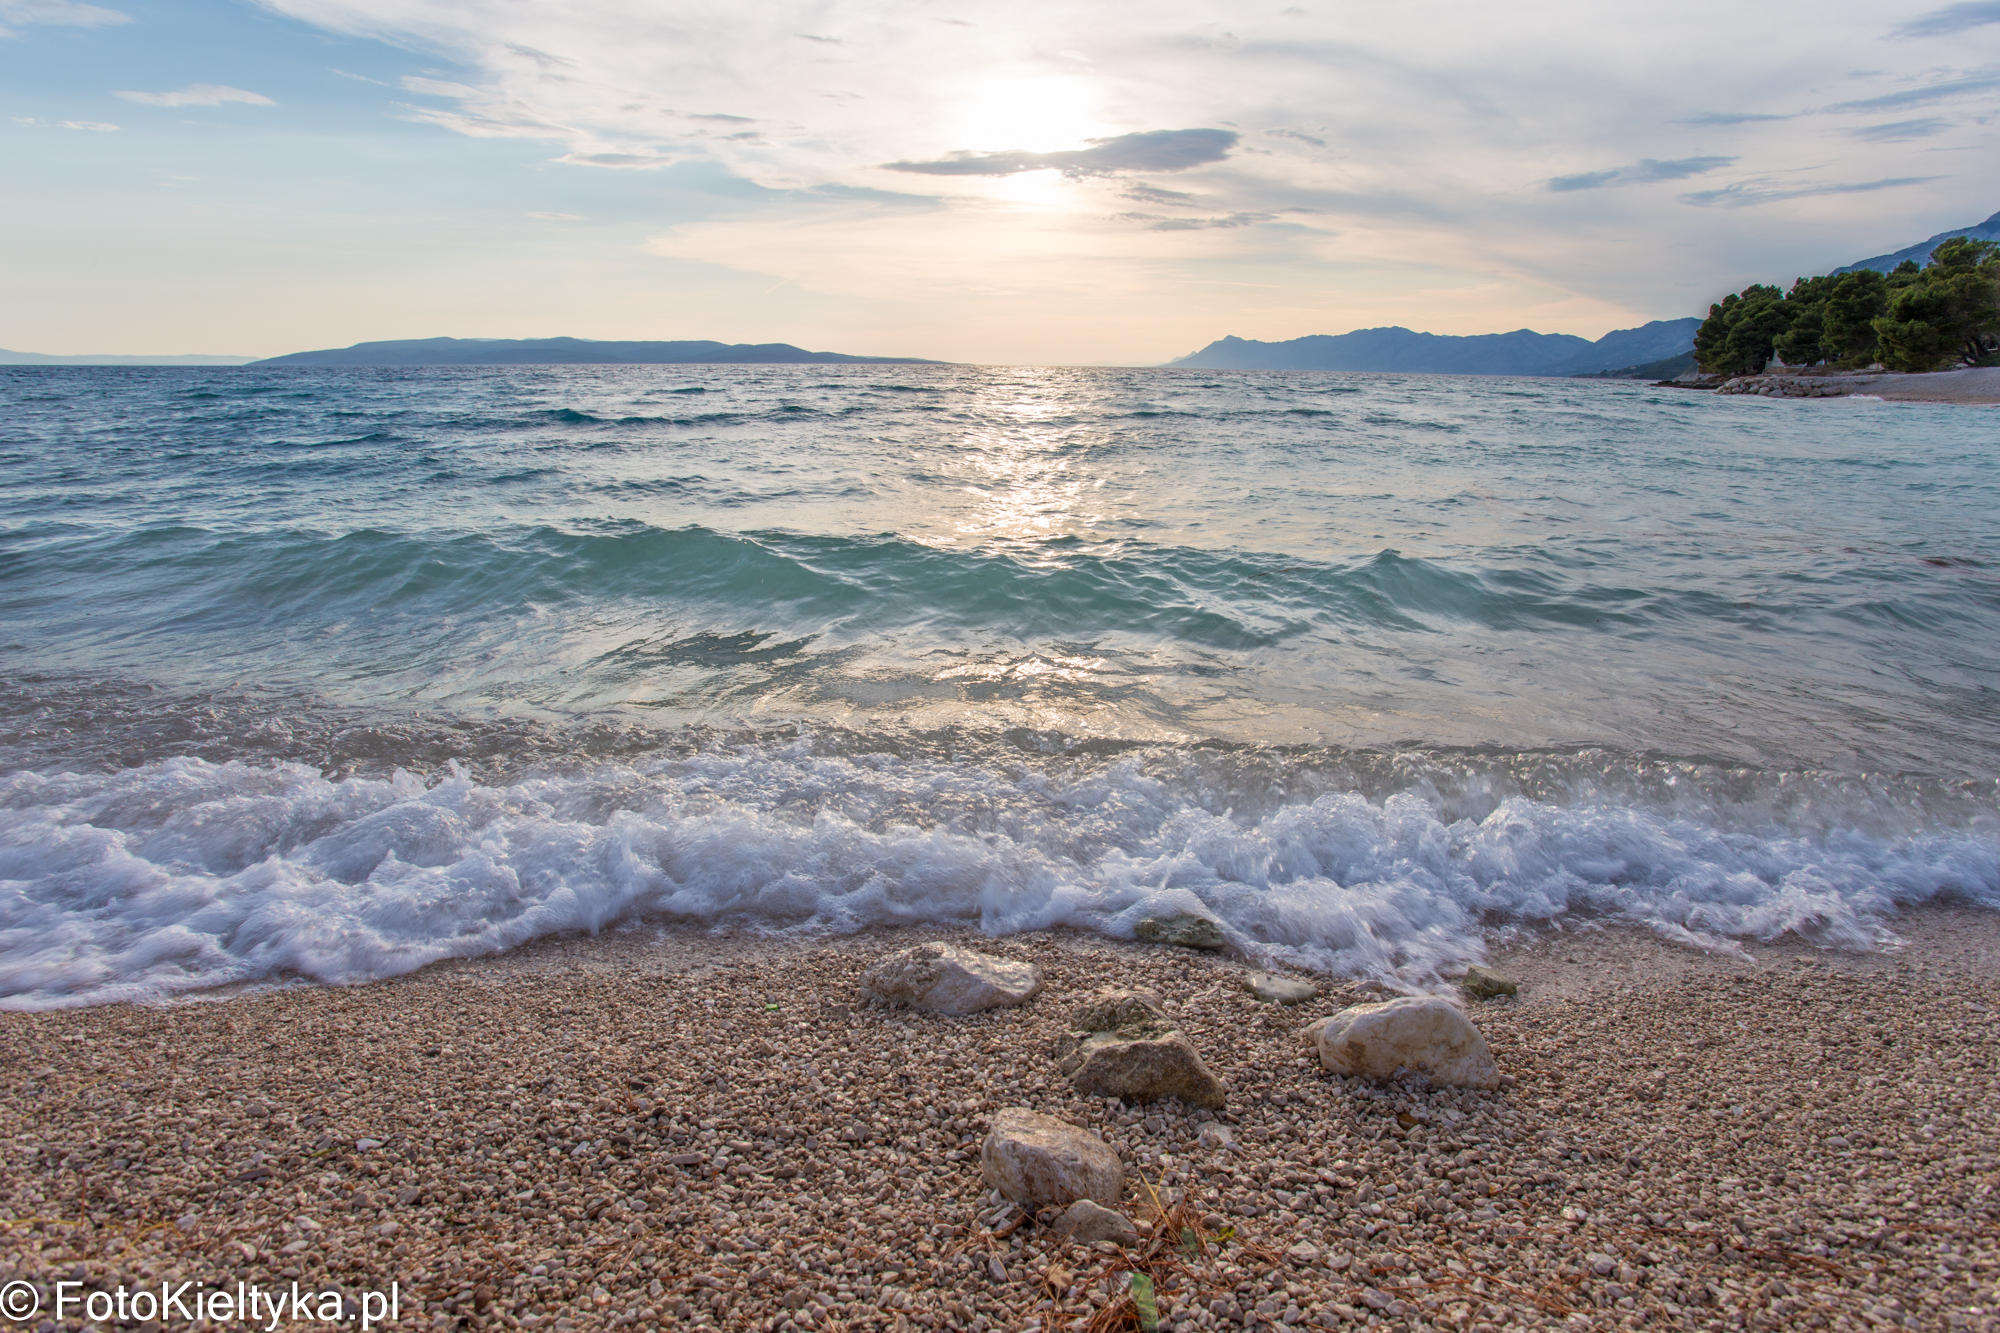
Before taking the first picture, pick one important bright area: a backlit cloud edge or a ribbon of golden water. Find the deepest shadow too. Here, white foam separates the beach from the darker sea; its subtle tones describe the shape of the wave. A wooden pier whose grain matters to the picture would call for a different exposure decision.
Take a test frame in RAW. Start at low ISO with an aperture that gives you the depth of field you need. Try f/8 for a distant landscape. If you include a rock close to the lens, magnify its edge and the horizon before deciding whether to stop down or move the focus point.
Enable the RGB histogram and highlight warning. In a red or orange sky one channel can reach the right edge while the overall brightness histogram still looks fine. Locate the warning in the picture. A small patch in the solar disc is usually acceptable; a broad, flat area where cloud layers previously showed deserves attention.
If important clouds are flashing, shorten the exposure by one-third or two-thirds of a stop and compare frames. In A/Av mode with fixed ISO, use negative exposure compensation. The camera histogram comes from a JPEG preview. Judge the colour actually retained in the RAW file in Lightroom.
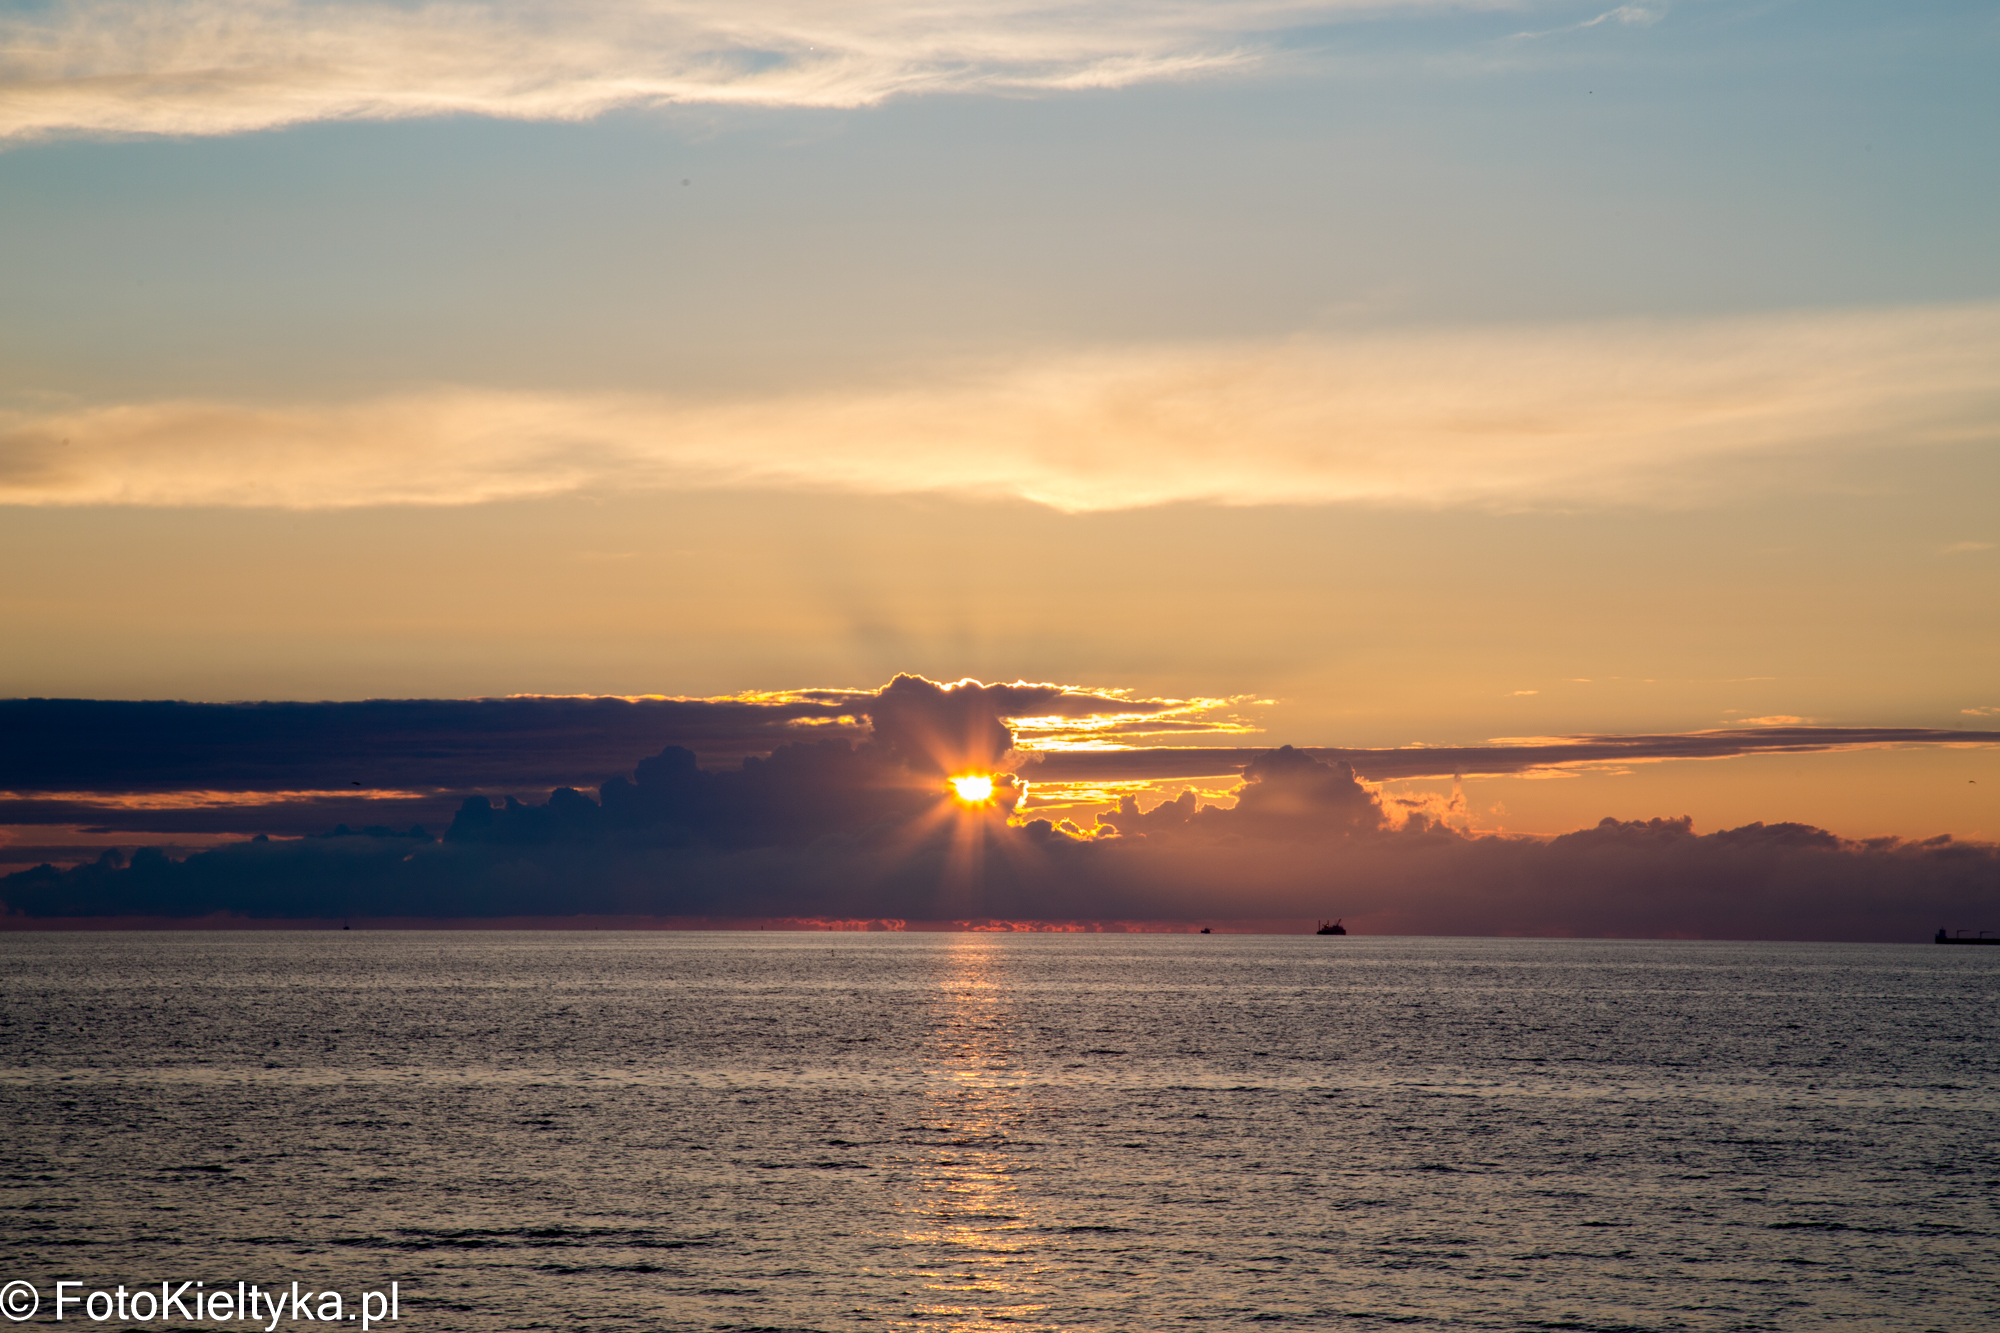
First set the sky brightness. Lower Highlights while watching the cloud beside the sun, then lift Shadows just enough to reveal the foreground. Inspect the rocks at high magnification. If the shadows lose colour or become noisy and shore detail matters, try a bracket. If the shore works as a silhouette, one frame may be enough. It also preserves a single pattern of waves.

Look just above the lower basin, left of the column. Low sunlight catches the droplets from behind, and the dark tree makes each one visible. Against the bright leaves on the right the same spray almost disappears. Before adjusting exposure, step sideways and see what falls behind the water.
At 1/640 s the droplets remain distinct points. Using f/4 and ISO 800 made that shutter speed possible. Magnify the wet rim: can you still see the grain of the stone? A few white glints give water sparkle; a broad area of lost texture would change the appearance of the fountain itself.
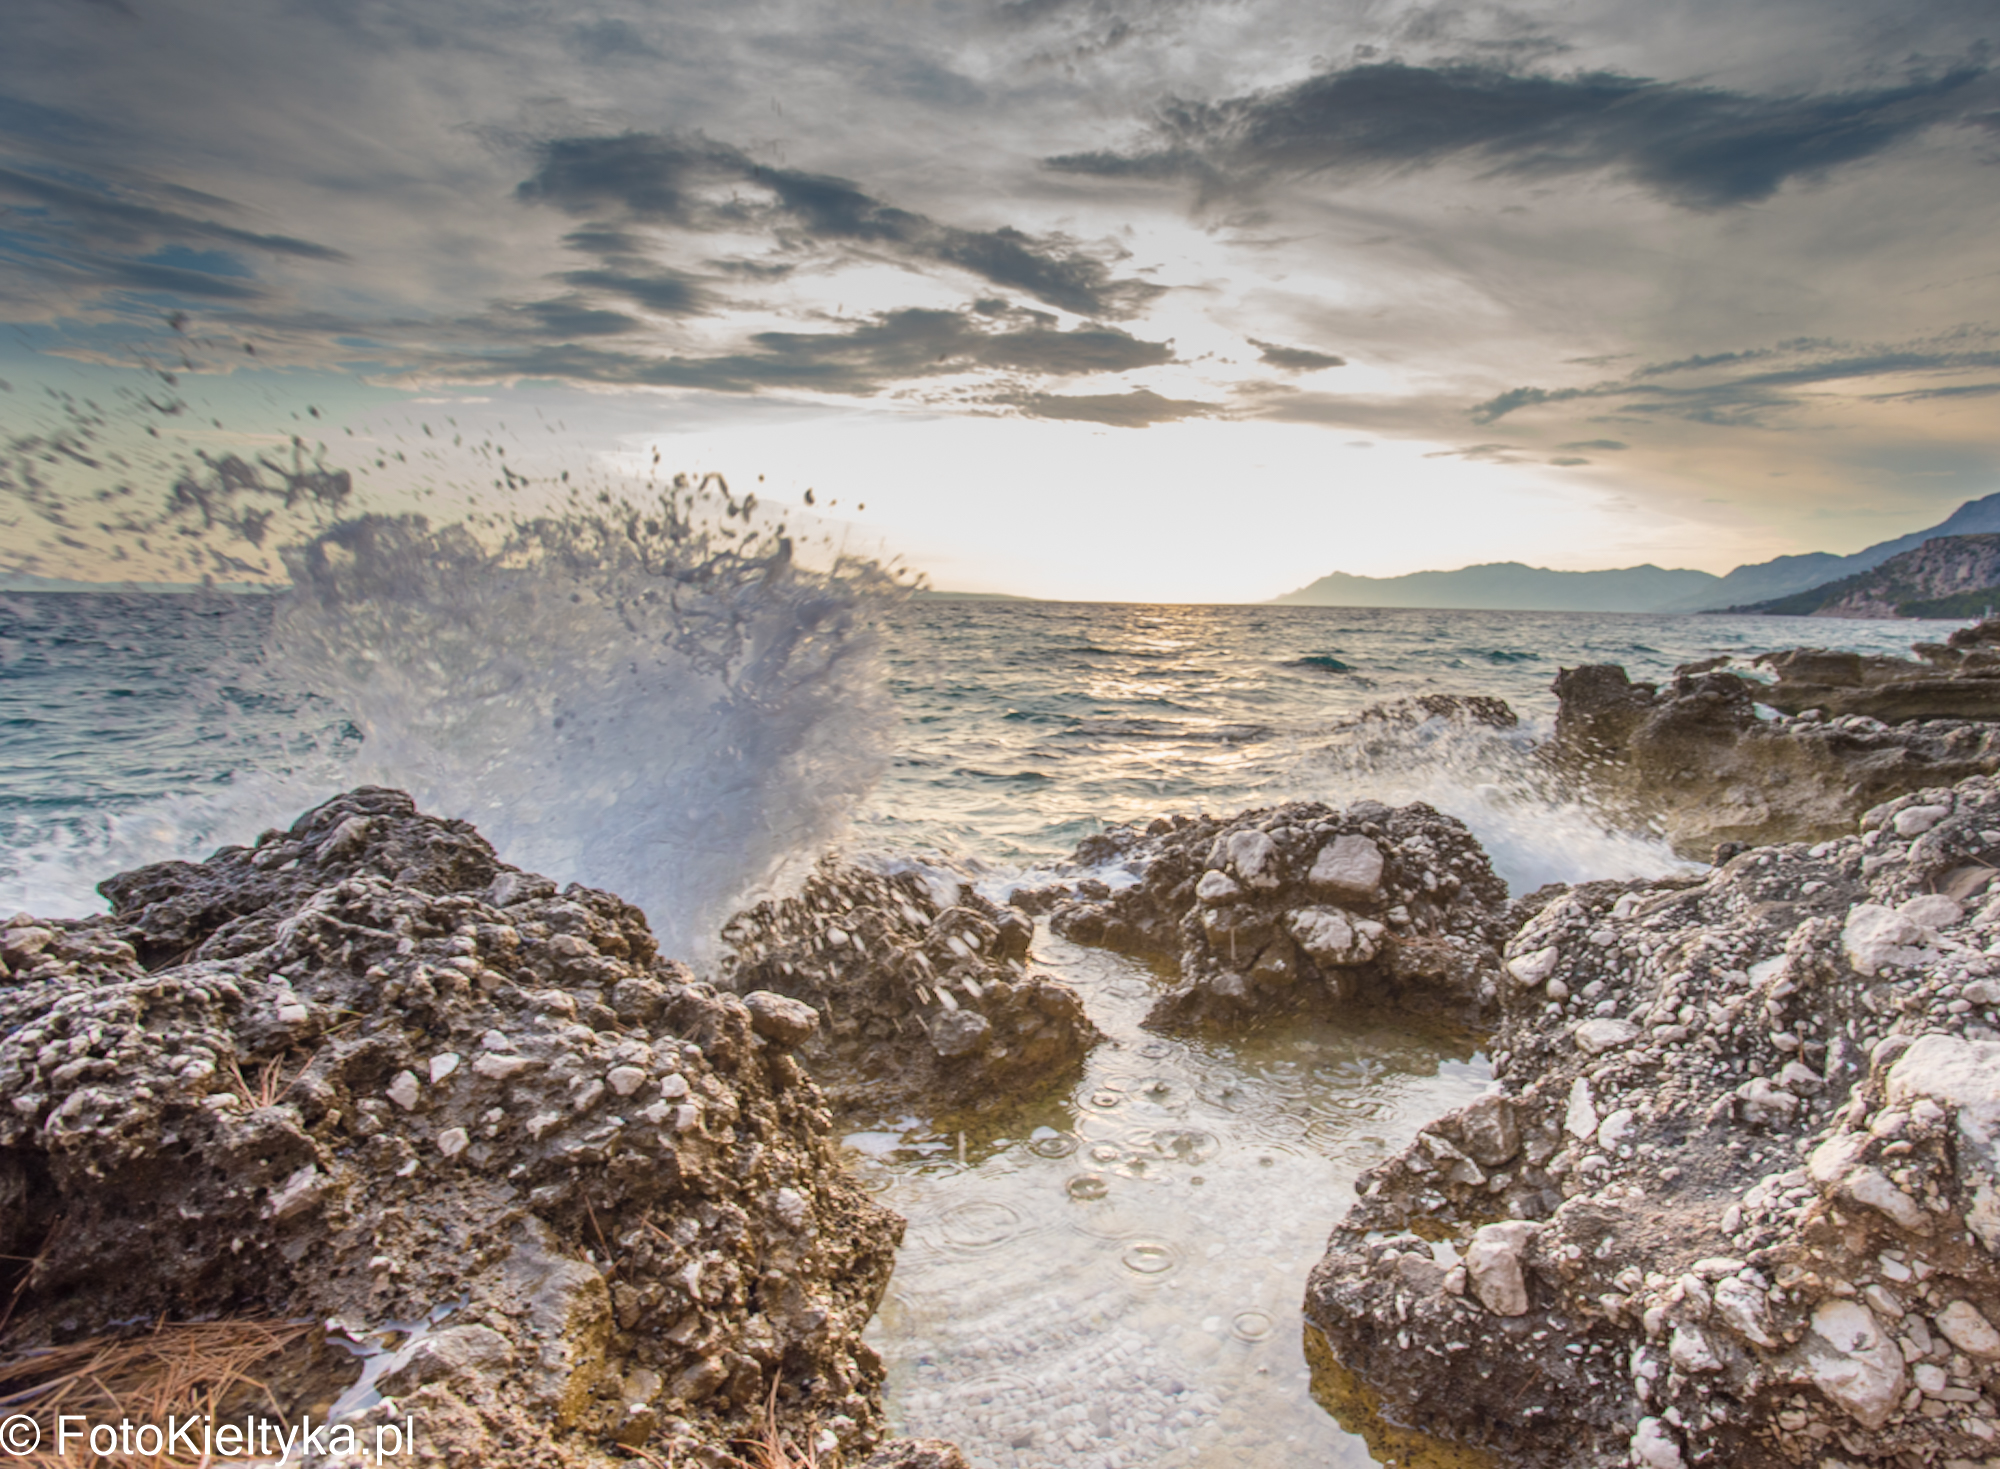
Both Croatian photographs used 1/100 s. On the beach the wave forms a broad horizontal line. At the rocks its edge breaks into streaks and individual drops. Across a bracket the rocks would stay still while bright water covered a different part of the shore in each frame. Start by choosing the most expressive wave shape.
Compose and focus, then lock focus for the series. Set a fixed aperture and ISO, disable Auto ISO and enable automatic exposure bracketing (AEB) so only shutter speed changes. Release the whole sequence quickly without moving the camera.
For example, with a middle exposure of 1/125 s, a −2 / 0 / +2 EV bracket gives approximately 1/500, 1/125 and 1/30 s. This is a worked example. Check the darkest frame for cloud colour and the brightest for shadow detail while still on location. If they cover the scene, three frames suffice. For greater contrast try five, for example −4 / −2 / 0 / +2 / +4 EV. Consider how far the foam moves during the longest exposure.
Select one bracket and choose Photo → Photo Merge → HDR. Check that stationary edges, such as the island on the horizon, line up. Auto Align helps with small shifts. Auto Settings offers a starting point for the tonal edit. The merged DNG draws on the different exposures when you adjust the sky and shore.
Inspect foam, reflections and cloud edges for double outlines. Start with deghosting off, then compare the lowest effective Deghost Amount. Show Deghost Overlay marks affected areas. If the water looks unnatural, return to the single frame with the best wave. Adobe’s HDR Merge instructions
Display both images at a similar sky brightness. Compare the colour transition near the sun, the texture of the shaded shore and the edge of a single wave. More detail in the rocks while retaining delicate cloud colour is a good reason to choose HDR. Keep some shadows deep if they help the reflection remain the brightest point of interest.
See the Brela album for more examples. After sunset the balance between sky and city lights shifts; follow it in the blue hour guide.